
Engraving Glass with a CO2 Laser: Tips & Best Practices
Whether you're a seasoned professional or just starting your journey into the world of CO2 laser technology, within this guide, we've shared a range of invaluable glass engraving tips and tricks to help you achieve stunning results, from exploring the different glass types, parameter settings and finishing tips.
Additionally, we welcome your insights! If you have any personal tips for laser engraving glass, please let us know.

Types of Glass Suitable for CO2 Laser Engraving
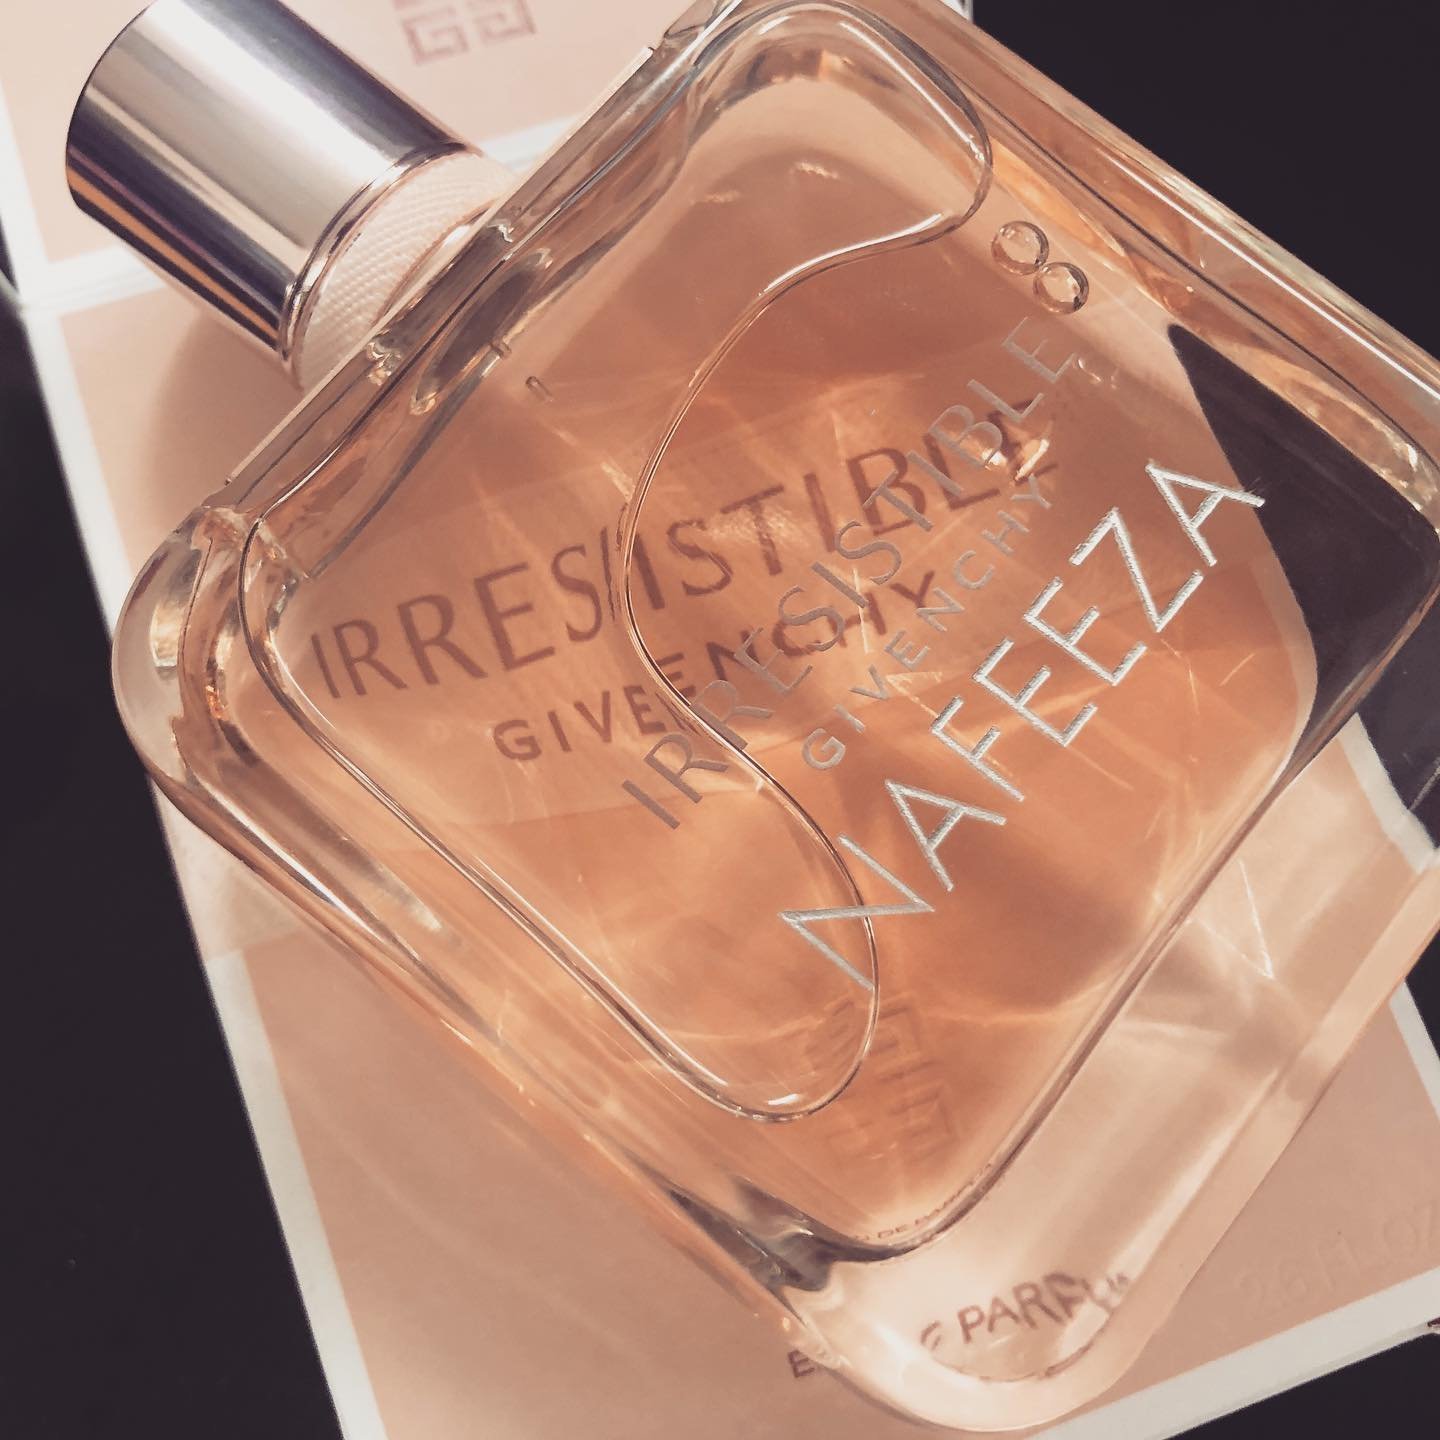
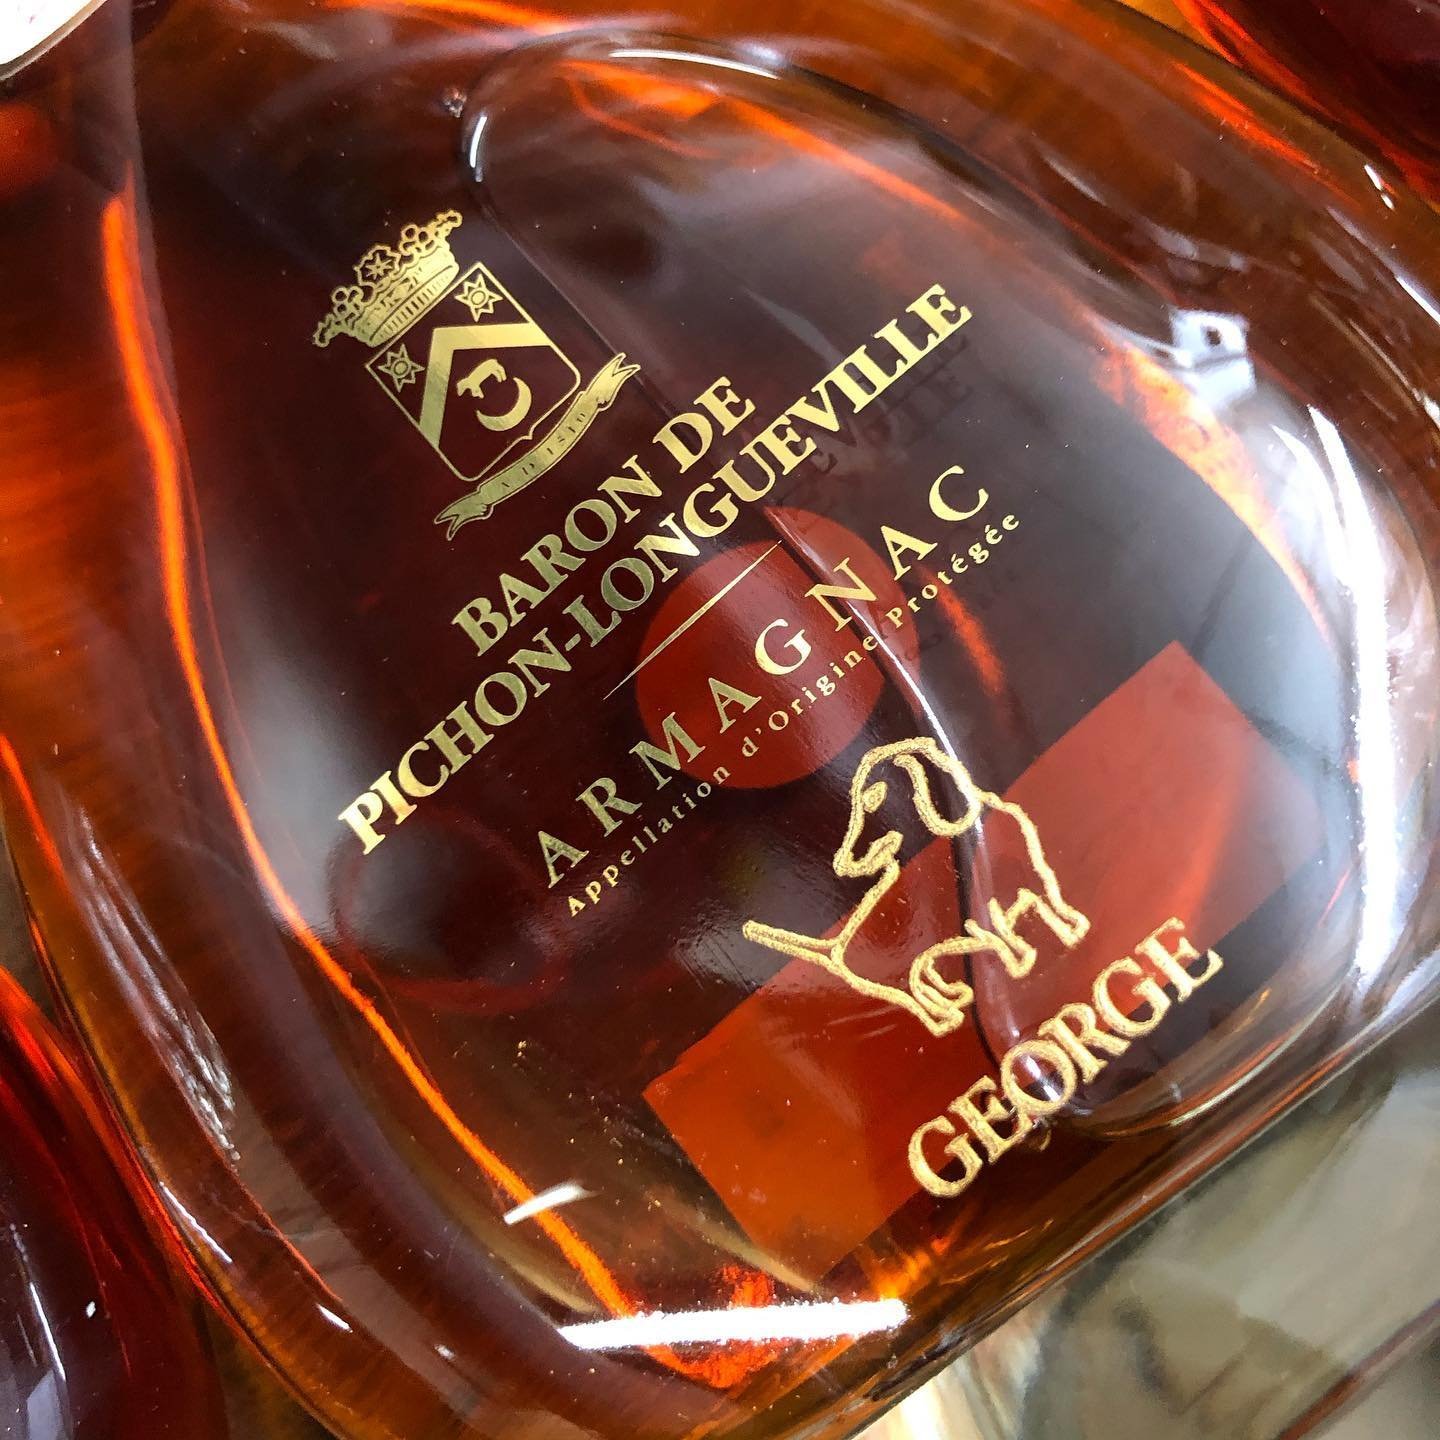
CO2 laser technology can personalise a wide range of glassware products, from wine glasses and beer mugs to vases and decorative pieces. But what are the most popular types of glass used on the market, and what issues can arise during the laser engraving process?
Borosilicate Glass
Borosilicate glass is often used to manufacture bottles, flasks, funnels, beakers and measuring instruments. Due to its composition, borosilicate glass has a low coefficient of thermal expansion, meaning it is more resistant to breakage caused by rapid temperature changes. As a result, borosilicate glass tends to be more forgiving when laser engraved, creating a cleaner, crisper, and less flaky finish.
Soda-Lime Glass
Soda-lime glass is the most widely produced type of glass, accounting for approximately 90% of all glass manufactured globally. Due to its affordability and versatility, it is mass-produced and commonly used in applications such as bottles, drinking glasses, and window panes.
One of the key advantages of soda-lime glass is its relatively low melting point, which makes it particularly suitable for laser marking and engraving. When processed with a laser, it tends to exhibit minimal chipping and flaking, ensuring cleaner results. Notably, higher-quality soda-lime glass, which has fewer impurities and a more uniform composition, yields sharper and more consistent engraving results.
Lead Crystal Glass
Lead crystal glass is known for its brilliance and clarity, but is significantly more temperamental when it comes to laser engraving. This type of glass contains a high percentage of lead oxide (typically 24% or more), which alters its thermal properties and makes it more reactive to laser energy.
Because lead crystal retains heat more efficiently than soda-lime glass, it tends to accumulate excessive thermal energy during engraving. This can result in pronounced chipping, surface flaking, or even cracking, especially during deep or high-power passes.
🔧 Tips for Laser Engraving Crystal Glass
Lower Power: Start at 10–15% to prevent overheating.
Higher Speed: Reduces heat buildup and surface damage.
Apply Coating: Use dish soap or black tempera to diffuse energy.
Cool the Base: Engrave on a ceramic tile or damp paper towel.
Use Light Passes: Multiple gentle passes work better than one heavy pass.
Simplify Designs: Avoid fine details over large areas.
Test First: Always try settings on a scrap or hidden area.
Recommended Laser Settings for Glass Engraving
Machine settings when engraving glass vary depending on the type of laser machine you have and the wattage of your laser tube.
For best results with a 60 watt laser, try the following settings: 20% power, 300mm/s speed, and 0.1mm interval while using a 2" or 2.5" focal lens.
The main thing to remember when engraving glass is to test, test and test again.
How Do You Laser Engrave Cylindrical Glassware?
Engraving cylindrical items like wine glasses, tumblers, or mugs requires a rotary attachment—a must-have tool for anyone looking to expand their engraving capabilities. This accessory allows your laser machine to rotate the glass smoothly as it engraves, ensuring consistent, distortion-free results around the entire surface.
If you're working with glasses that have handles (like mugs), it's important to use a chuck-style rotary rather than a roller-style. Chuck rotaries securely grip the object from the inside or ends, preventing slippage or misalignment during rotation, especially useful for items with irregular shapes or protruding features.

Essential Glass Engraving Tips for Best Results
Our top tips to avoid cracking, chipping, and poor finishes when engraving glassware using a CO2 laser:
Refine Your Results Through Repeated Testing
Laser engraving glass is as much about feel as it is about settings. Since glass is a natural, inconsistent material, results can vary a lot depending on its type, thickness, and quality. That’s why testing isn’t just for beginners—it’s key for anyone who wants consistent, clean results.
The most important consideration is the power at which you've set your laser to engrave. Too much, and you risk cracking or chipping; too little, and the mark will be too light. Speed, line spacing, and focus height also matter and should be adjusted carefully.
To get that clean, frosted look with high contrast and minimal damage, start with low power and test in small steps. Track your settings and results so you can easily repeat what works.
Glass leaves little room for error—small tweaks in power or focus can make a big difference.
Avoid Multiple Laser Passes on Glass when using a Rotary Device
When a glass engraving doesn’t turn out as planned using your rotary device, the temptation is to re-engrave the design. However, repeating laser passes on glass is generally discouraged.
Each pass adds concentrated heat, creating stress on the surface. A second pass increases the risk of thermal shock, which can lead to cracks, chips, or even total breakage with more brittle glass. It can also leave the engraving looking hazy or overly frosted, blurring the edges of your original design, which is particularly common when using a rotary attachment. If the glass isn’t locked in securely, it may shift slightly, especially when the rotary spins back on itself. That movement can cause the second pass to misalign and overlap the edges of your design, ruining the clean look.
Even if the glass doesn’t visibly fracture, excessive laser exposure can introduce micro-fractures beneath the surface. These tiny cracks may not be immediately apparent. Still, they can compromise the structural integrity of the glass and result in long-term durability issues, especially for glassware that will be handled or washed frequently.
Ultimately, the key to avoiding multiple passes is to determine your ideal settings before starting the final job. Invest the time upfront to test various power and speed configurations on a sample piece of the same glass.
Engraving Photos on Glass
Laser engraving photos onto glass adds a personal touch to any project. However, engraving an image onto glass requires some specific preparation. First, convert your photo to grayscale to ensure the laser focuses on the right areas. You can adjust the contrast to enhance clarity, and sometimes, applying a dithering technique helps simulate different shades of grey.
When setting the laser parameters for engraving images, aim for a resolution of at least 300 dpi, though higher resolutions like 500-600 dpi may be required for intricate details. For power and speed, start with a lower power setting and moderate speed to avoid overheating and over-etching.
Masking Techniques to Enhance Engraving Quality
One technique that can significantly improve the quality of your glass engravings is masking. Masking helps dissipate heat and helps prevent micro-fractures from forming on the surface of the glass. The process involves placing a thin, wet sheet of newspaper or paper towel over the area of the glass you want to engrave, which helps with heat dissipation.
It’s crucial to make sure the paper lies flat with no air gaps underneath, as any disruption in the surface could lead to uneven engraving. Additionally, the air gaps will create hot spots that can dry out the paper and catch fire, resulting in the opposite effect we are trying to achieve by minimising heat.
Post-Engraving Clean-up and Finishing
After completing the engraving, it’s essential to clean the glass thoroughly to remove any debris and prevent smudging. Using a stiff-bristle brush or a toothbrush can help remove stubborn glass fragments that might remain on the surface. After that, clean the glass with a lint-free cloth and a little bit of isopropyl alcohol to eliminate any oil or smudges.
For a polished, shiny finish, you can use a glass cleaner or a special polishing cloth, which will not only make your engraving pop but also ensure the glass is safe to use and handle.
How to Add Colour to Laser Engraved Glass
Sometimes, the opaque frosted finish on glass engravings can make it challenging to see finer details. Adding colour can make your engravings pop and give them a unique appearance. One popular method is to use Rub'n Buff, a wax finish that’s easy to apply and doesn’t require special skills. Rub a small amount of the wax onto the engraved area, then buff it with a soft cloth to remove excess wax and create a shiny, colourful finish.

Ready to Level Up Your Glass Engraving?
Now that you're armed with tips, tricks, and best practices for CO2 laser engraving on glass, it’s time to put your knowledge to work! Start experimenting, fine-tune your settings, and see what you can create. Have your own go-to techniques or lingering questions? Share them with us — we’d love to hear from you!
How to Choose a Glass Engraving Machine
When selecting the right glass engraving machine, it’s essential to consider several key factors:
Your budget
Laser power
Training and support
Safety features
Maintenance, repairs, and availability of replacement parts
We’ve put together a comprehensive guide to buying the best laser cutter that explores each of these factors in greater detail to help you make an informed decision.
Still unsure? Talk to the experts. At Focused Laser Systems, we’re proud to be the UK’s leading supplier of laser machines and repair specialists. Our focus is on delivering affordable, reliable solutions without compromising on quality.
Built on decades of industry experience, our laser cutters use only premium components and are engineered for performance and longevity. Whether you need a compact desktop engraver or a large-format laser cutter, we offer a wide range of machines with various bed sizes and power levels—perfect for everyone from hobbyists and educators to small businesses and industrial manufacturers.