
Our Essential Guide to Common CO2 Laser Repairs
Last Updated - October 2024
From an ageing or damaged laser tube to a misaligned laser beam or inconsistent power supply due to wear and tear on internal components, understanding common CO2 laser repairs can save you time, money, and frustration, ensuring your machine stays in tip-top working condition and continues to deliver exceptional laser cutting and engraving results.
Some of the common CO2 laser repairs include:
All of which we'll explore in more depth below and how to identify which issue could be affecting your CO2 laser.

Laser Tube Replacement
Irrespective of the make and model of your laser machine, universally across the board, one of life's inevitabilities is at some point, your laser tube will need replacing. Your CO2 laser tube has an expected lifespan. Its energy and wattage will gradually decrease over time, eventually reaching a point where it can no longer generate a laser beam powerful enough for cutting and engraving.

How Can I Tell If My Laser Tube Needs Replacing?
Some of the common signs your laser cutter requires a laser tube replacement include:
🔴 Difficulty Cutting Materials: Your laser cutter is struggling to cut through materials that it previously handled with ease.
🎨 Engraving Quality Deteriorates: Engraving lacks depth and clarity, even with increased power settings.
⚡ Weak or Flickering Laser Beam: The laser beam appears weaker than usual, or it flickers and changes intensity during operation.
🔍 Physical Damage: The tube itself may show cracks, discolouration, or other signs of physical damage.
When it's time for a laser tube replacement, we recommend prioritising quality and longevity by opting for a reputable brand like RECI. Manufactured with premium components, reci's laser tubes guarantee dependable performance and extend the operational life of your laser system, ensuring you get the most out of your investment.
Do Laser Tubes Degrade over Time?
During operation, the CO2 gas within the laser tube breaks down into Oxygen and Carbon Monoxide. Overdriving the tube by exceeding its recommended power settings speeds up this disintegration process and shortens its lifespan. As the tube ages, its performance inevitably deteriorates, leading to reduced power output, which forces users to either slow down cutting speeds or increase power levels to achieve the desired results.
What Is the Lifespan of a Laser Tube?
DC (glass) laser tubes typically last around four years, but this can vary based on usage and power settings. For optimal lifespan, we recommend operating your laser tube at or below 60% of its maximum power. This approach not only extends the tube's life but also ensures consistent performance, delaying the need for a replacement laser tube.
Can I Replace a CO2 Laser Tube Myself?
Replacing a laser tube can be a straightforward task for those with previous experience working with electrical components or handling delicate equipment technical experience. It's essential to test your laser tube's power supply unit to confirm it's delivering the correct mA output current and rule out any potential faults within the power supply that might be contributing to the power loss.
Prioritising safety is paramount when handling laser components. Adhering to proper procedures and exercising caution is essential to prevent any harm to yourself or damage to your valuable laser machine.
We recommend reaching out to a CO2 laser cutter repair specialist and booking a visit for the replacement of your laser tube.
At Focused Laser Systems, during a service visit or tube replacement call-out, we'll conduct a comprehensive laser tube and optics alignment to ensure precise results. We'll then perform a wattage test to verify your laser tube's output power. Additionally, we'll thoroughly examine your laser tube's power supply unit, ensuring it's delivering the correct mA output current and isn't contributing to any power loss. This meticulous approach guarantees your laser system is operating at its peak performance.
Timing Belt Replacements
The timing belts are responsible for moving the gantry and laser head around the laser bed by utilising the rotation of the motor. Your laser machine usually has three main timing belts that work with the linear guide rails: one belt for moving the laser head left and right (X-axis) and two belts on either side for moving it forward and backward (Y-axis). The teeth on the belts ensure that everything moves smoothly and precisely, allowing the laser to create accurate cuts and engravings.
How Do I Tell If My Timing Belt Needs Replacing?
Visible signs of wear and tear on the timing belt, such as cracks, fraying, missing teeth, or excessive stretching, are clear indicators that it's time for a replacement. These issues can directly impact the laser cutter's performance, leading to decreased accuracy in cutting or engraving, inconsistent or jerky movement of the laser head, and even slipping or skipping of the belt. You might also notice unusual noises like squeaking, grinding, or clicking sounds coming from the belt or motor area, further signalling the need for a new belt.
How Often Should a Timing Belt Be Replaced?
While the lifespan of timing belts can vary depending on usage and machine type, it's generally recommended to replace them every 2-3 years as part of preventative maintenance.
Faulty Electrical Cables
It goes without saying that the electrical cables in your laser machine are what powers the machine's capabilities. The most common cable errors are those in the gantry for the X & Y-Axis, as well as sensors/switches.
Your electrical cables for the X & Y-Axis motors will run through a cable track for guidance and to stop snagging. Constantly bending and straightening the cable will, over time, cause wear and, eventually, breaks in the cable. These may first appear as slight errors in the motor's performance when there is a slight break in the cable, but eventually, the cable will completely separate and cause a permanent error.
Most of the time, it is possible and most effective to repair the cable and fix the connections properly with soldered heat shrink sleeves. But on occasion, the best solution, either due to the cable itself, the location, or the extent of the damage, is to replace the whole cable.
Proximity Sensor Replacement
One common issue that can affect a CO2 laser's performance and safety is a faulty proximity sensor. These sensors play a crucial role in detecting the position of the laser head and other moving components, ensuring precise movements and preventing collisions.
What Is the Purpose of Proximity Sensors in CO2 Lasers?
Your CO2 laser engraver uses proximity sensors or switches to find its home/origin point. When the laser cutting machine starts up, both the X and Y axes will move toward a corner of the laser bed where the machine's proximity switches or sensors are located. They will activate once the gantry comes near or makes contact with them. This action lets the control board know that this is the starting point of the 0-0 coordinate. The machine's control board can then calculate the scale, position, and size of your design relative to the laser bed and relay this information to the motors to work within the machine's programmed parameters.
Why Do CO2 Laser Proximity Sensors Need Replacing?
Proximity sensors in CO2 laser machines can require replacement for several reasons. Constant exposure to dust, debris, and vibrations within the machine's environment can cause wear and tear, leading to degraded performance. Misalignment of the sensor can result in inaccurate detection of the laser head or other components, causing errors or malfunctions. Additionally, electrical surges can damage the sensor's internal components, causing it to fail. Lastly, like any electronic component, proximity sensors have a finite lifespan and may eventually fail due to age, even without any visible external cause.
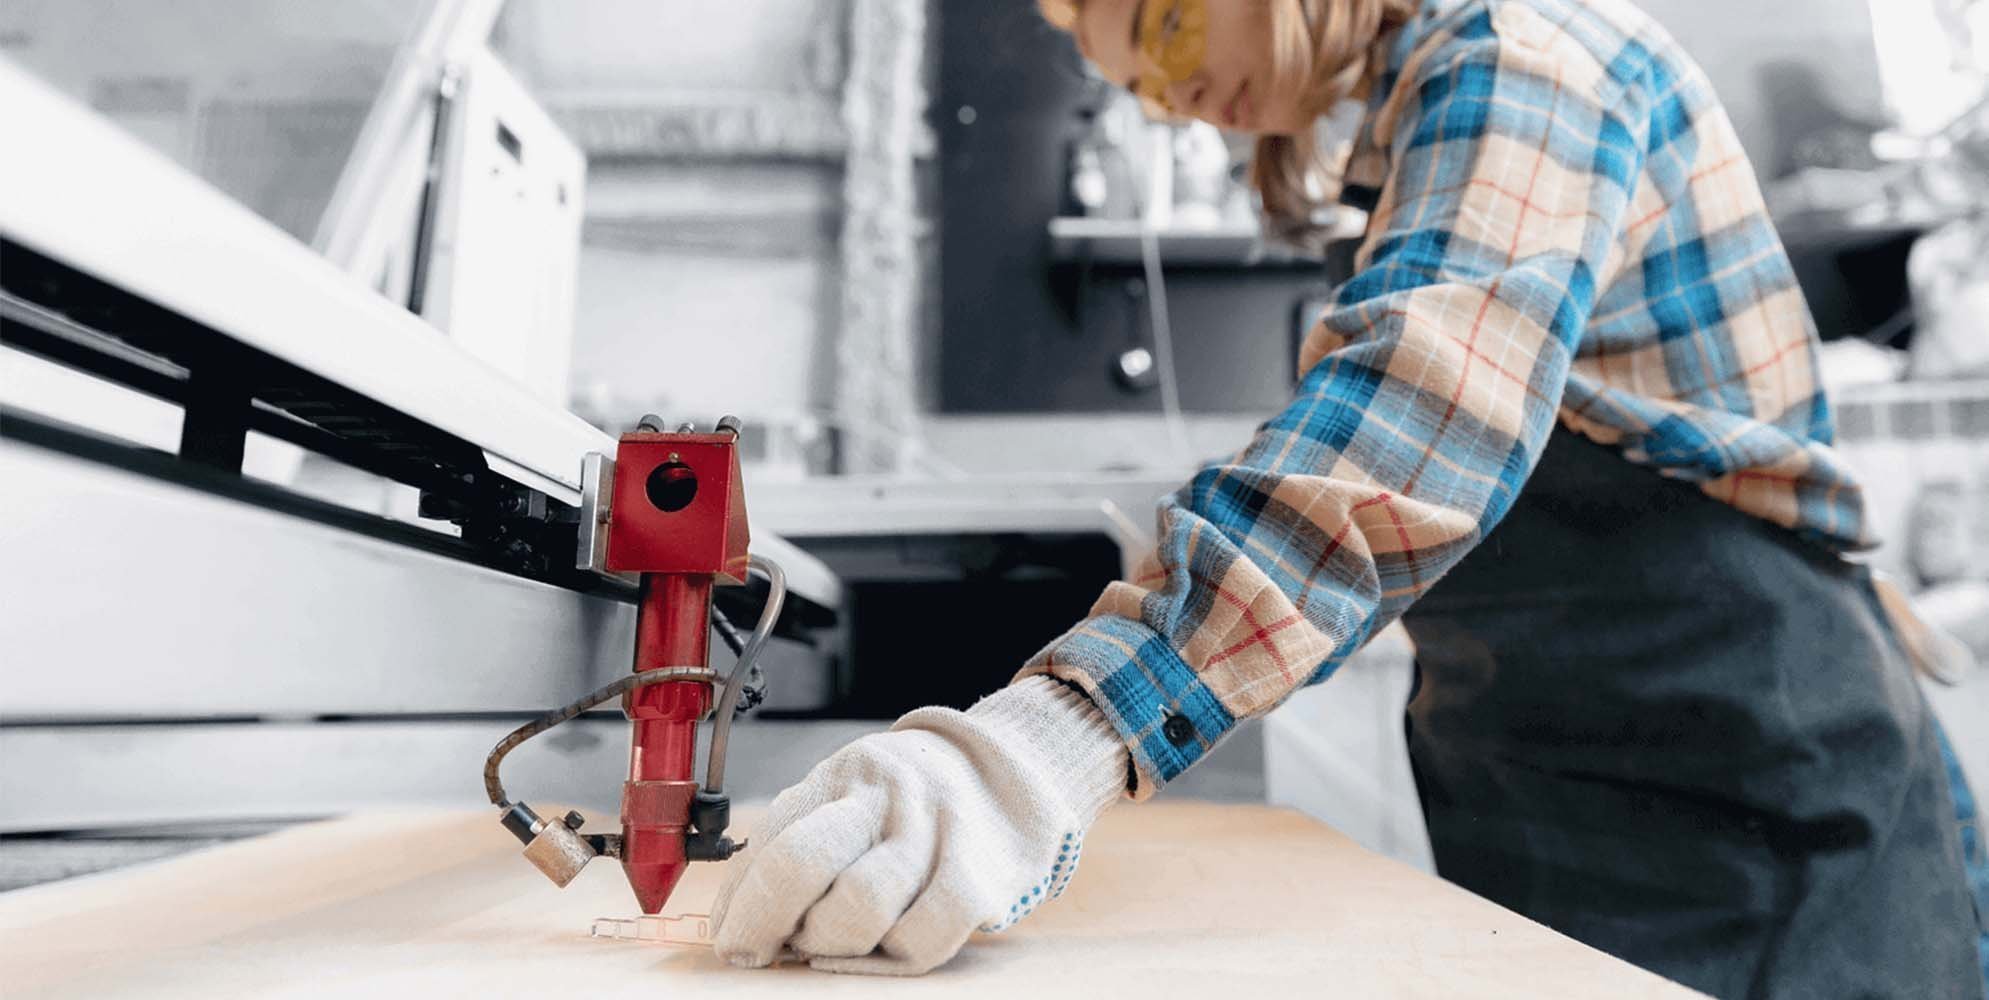
Optical Misalignment
Even the slightest deviation in your laser tube's beam alignment, as it travels through a series of mirrors and lenses to the material's surface, can significantly impact laser cutting and engraving results.
Over time, the natural vibrations of your laser machine will throw the optical alignment off. Additionally, have you recently moved your laser engraver? Or perhaps the laser head has accidentally knocked into a rogue object left on the laser bed. If yes, then your laser optics may have become misaligned.
How to Tell If Your CO2 Laser Optics Are Misaligned?
When you fire a low-power laser pulse onto a material, the resulting burn mark should ideally be a perfectly centred dot within a clean, circular shape. Any deviation from this, like an off-centre mark or an irregularly shaped burn, could indicate misalignment in your optics. Additionally, it's worth checking your mirrors and lenses for any burn marks or damage.
How to Align a CO2 Laser Beam?
Achieve perfect laser performance with a complete laser tube and optics alignment using these step-by-step instructions.
Step 1: Laser Tube Alignment.
Ensure the laser tube is secured into the laser tube clamps
Make sure the laser tube clamps are affixed in a straight line, so the laser tube can fire straight onto mirror 1
Make sure the laser tube is level on each mount (Not ground level, just level with each other)
Test fire the laser tube onto mirror 1 to check the beam is hitting mirror 1 centrally
Step 2: Mirror 1 Alignment.
Please Note: If you machine has been set-up by a professional, mirror 1 should be perfectly aligned and will not need adjusting. In order to align mirror 1, we must check its angle to mirror 2.
Place a target marker, or 2 layers of masking tape with no sticky residue over mirror 2.
Move the gantry to put mirror 2 to the back of the machine, closest to mirror 1.
Pulse the laser to mark the tape on mirror 2.
Move the gantry to the front of the machine, and whist noting where the 1st mark on the tape is, pulse the laser again to see where the second mark is. The 2nd mark should overlap the 1st mark. If that isnt the case, adjust mirror 1 and pulse again until the 2nd mark is over the top of the 1st mark.
Please note: At this stage, we ARE NOT aiming for the centre of the mirror, we are trying to get the angle of each mirror correct by making sure the near and far pulse both overlap each other. At the end, if the laser beam is not being received centrally onto the mirror, we will need to adjust the mirror mount and move the physical fixed position of the mirror to receive the beam centrally. This can be tricky, so if you aren’t sure, always reach out and we can help remotely, or on-site and provide training for this and other maintenance.
Step 3: Mirror 2 Alignment.
Place a target marker, or 2 layers of masking tape with no sticky residue over the hole going into the top of the laser head before mirror 3.
Move the laser head (Typically Left) to put the laser head / mirror 3 closest to mirror 2.
Pulse the laser to mark the tape on the laser head.
Move the laser head to the opposing side (Right) and whist noting where the 1st mark on the tape is, pulse the laser again to see where the second mark is. The 2nd mark should overlap the 1st mark. If that isn’t the case, adjust mirror 2 and pulse again until the 2nd mark is over the top of the 1st mark.
Step 4: Adjusting Mirror Mounts (If Required).
Now we have completed the laser alignment into the laser head, before we complete the full alignment down through the laser lens we need to ensure the mirrors are receiving the beam in the centre of the mirrors. If the beam is hitting the centre of mirror 1 & 2, and centrally into the laser head, you can move onto the final step. If however, that isn’t the case we need to now resolve that.
Please Note: Before we go moving the mirror mounts, they may actually be fine, because it could be the laser tube that needs adjusting not the mirror mounts !
If say your laser head is receiving the beam too high or low and it needs to be adjusted to be centred, this would indicate that the laser tube position is too high or low and needs to be moved up or down so that mirror 3 in the laser head can receive the beam at the correct height. The laser tube height will determine the height the laser beam is received by the laser head & mirror 3. And the left to right position of the beam is determined by mirror mount 2.
For example: If your laser head is receiving the beam perfectly on the vertical line, but too high, then the mirror 2 mounting position is fine, and the laser tube needs to be lowered to fix this issue. Please be aware, that adjusting the tube height may require you to also adjust the position of mirror 1 and/or mirror 2 so they also receive the laser beam centrally. This can be tricky, because we don’t want to adjust the angle of the mount at all, just the position. Typically some minor adjustment after moving the mount is required to get the beam hitting centrally again as we know the angle of the mirror is correct. In this instance, just loosen the mount enough for you to adjust the mounted angle, and test fire to get the centre of the following mirror as it was before.
For example: If mirrors 1 & 2 are both receiving the beam centrally, but your laser head is receiving the laser beam perfectly on the horizontal line, but too far left, then mirror mount 2 will need to be adjusted to bring the laser beam over to the right. Again, note as in example 1, we would want the mirror mount to move perfectly straight as to not disturb the angle we achieved when completing the laser alignment.
As I mentioned, this part can be quite difficult so if you are unsure, please reach out to us by email, WhatsApp, or phone and we would be happy to help.
Step 5: Mirror 3 Alignment. The final Step!
Place some Sellotape under the laser nozzle and pulse the laser.
Remove the tape and take a look at the hole made in the tape. You should see the outline of the laser nozzle, and hopefully a perfect circle hole inside the middle of the nozzle circle.
If you have the hole, but it’s over to one side, then adjust mirror 3 on top of the laser head to centre the hole and make an even gap between the pulsed hole and the edge or the nozzle mark on the tape. Once you have done this, WELL DONE - Your laser alignment is now complete.
Please Note: If your alignment is too far out for it to come though the nozzle, or you have a line or oval circle, you may need to remove the nozzle, apply masking tape or Sellotape to the bottom of the lens sleeve, and pulse like this with the nozzle out of the way to check the angle of the beam coming down.
Once you have made the adjustments without the nozzle on to make the laser beam come down more centred, reinstall the nozzle and complete step 5.
Common CO2 Repairs to Watch For:
1. Laser Tube Replacement
Description: The laser tube is the heart of the CO2 laser machine, and it will eventually require replacement due to wear and tear.
Signs to Watch for:
Decreased cutting power
Poor engraving quality
Visible damage or cracks
2. Timing Belt Replacements
Description: Timing belts control the precise movement of the laser head.
Signs to Watch for:
Cracks or fraying of the timing belt
Unusual noises from the machine
Recommended replacement every 2-3 years
3. Faulty Electrical Cables
Description: Cables, particularly those in the gantry, are prone to wear from constant movement.
Signs to Watch for:
Motor performance issues
Complete cable failure
4. Proximity Sensor Replacement
Description: Proximity sensors are essential for accurate positioning and collision avoidance.
Signs to Watch for:
Struggles to find home position
Erratic movements
5. Optical Misalignment
Description: Optical misalignment can occur from even slight bumps or movements, affecting the beam's focus and cutting ability.
Signs to Watch for:
Uneven cuts
Poor focus
Power loss
Looking for a CO2 Laser Cutter Repair Specialist?
At Focused Laser Systems, we're the UK's one-stop solution for all your CO2 laser repairs. Providing affordable CO2 laser training, repairs, servicing, and upgrades for all makes and models of CO2 laser machines, from desktops to industrial-sized laser machines.
Our goal is to resolve any issue you may be facing remotely, or if necessary, our engineers are always zipping up and down the UK, London and Ireland, enabling us to offer some of the fastest callout times in the industry. Whether you need a laser tube replacement, optical alignment, or help with a technical issue, our engineers are just a call away at 01271 626 406.